Free shipping · Ships within 24h

Mowing disc Ecovacs GOAT O500, O800, O1200, G1-800 & G1-2000 – cutting disc

39,90 

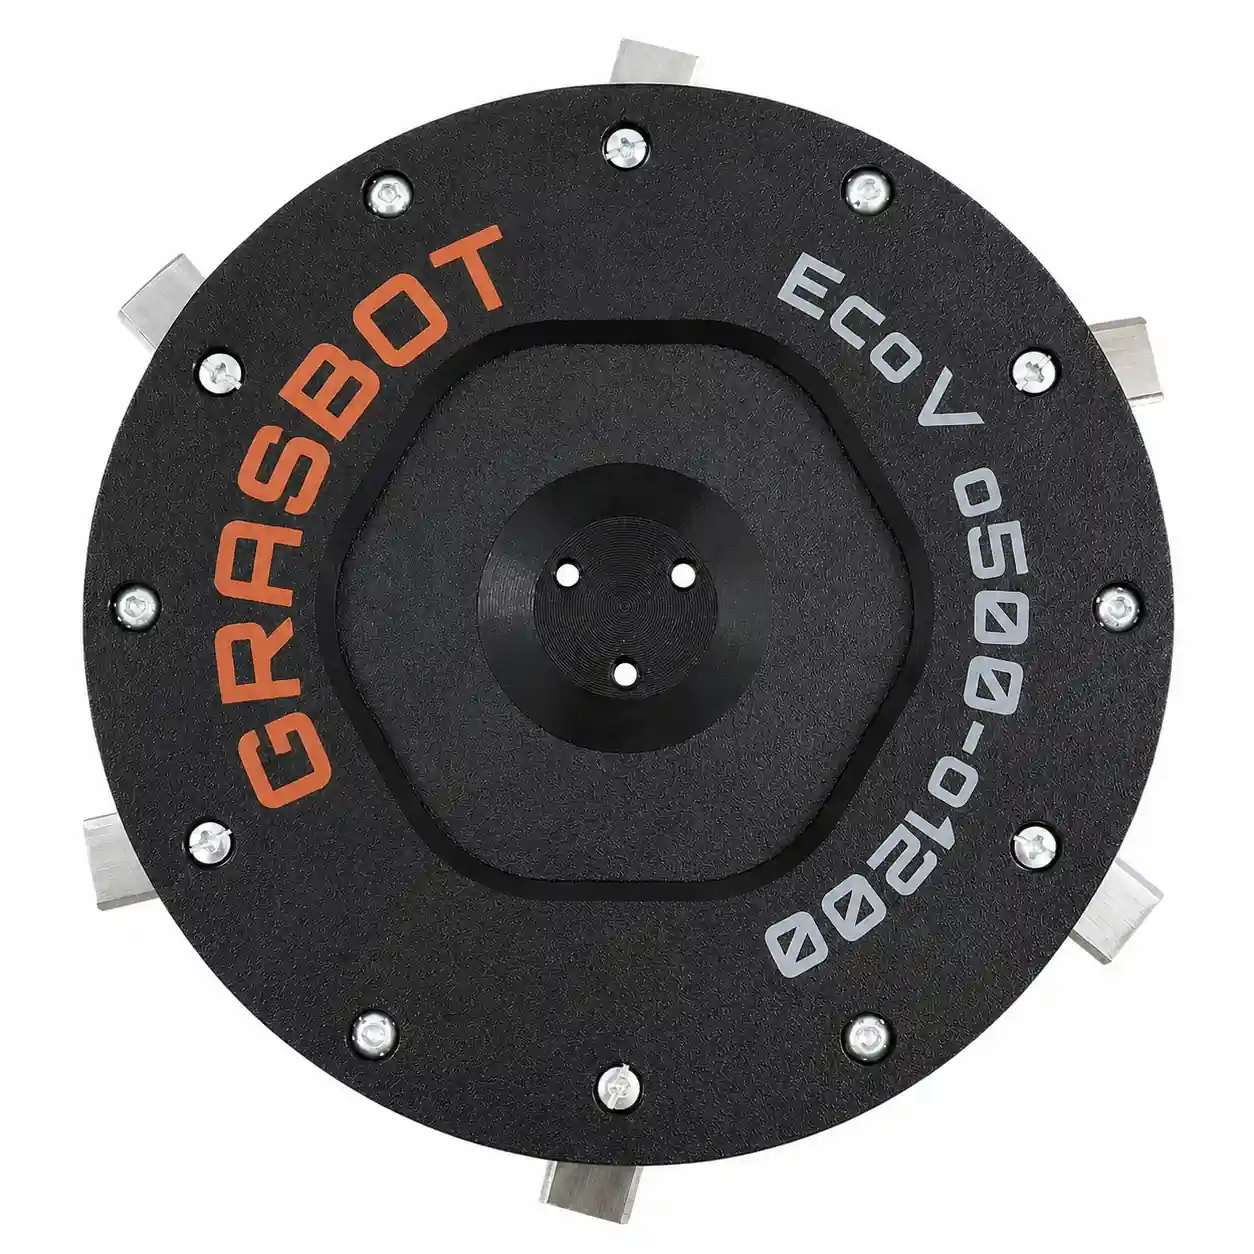
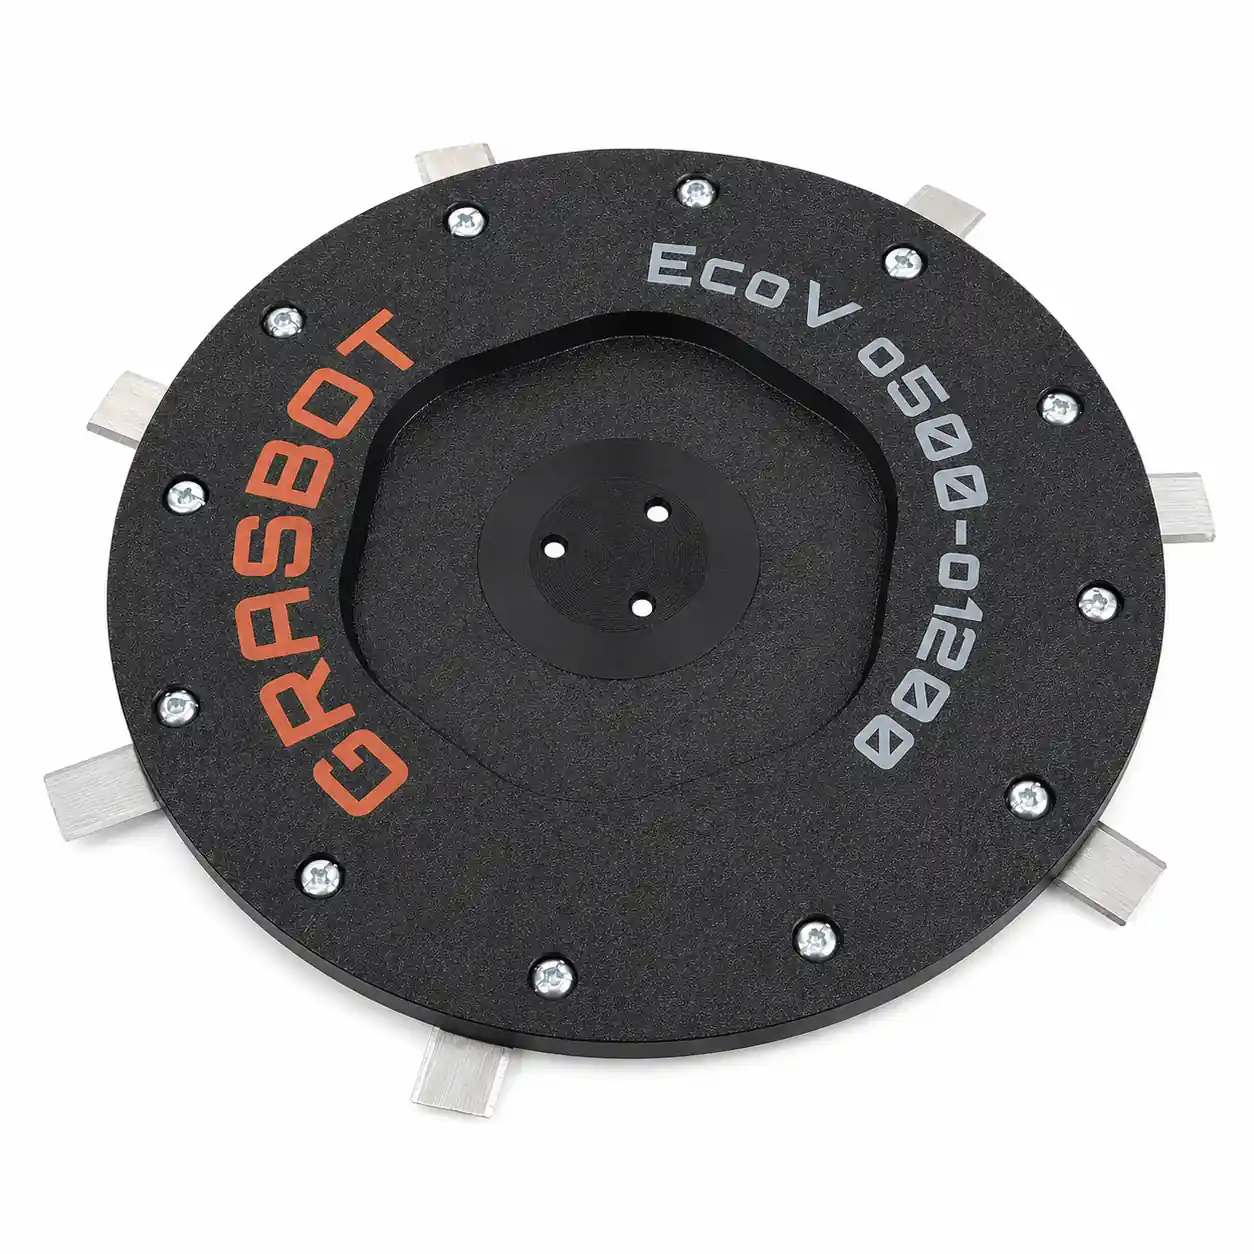
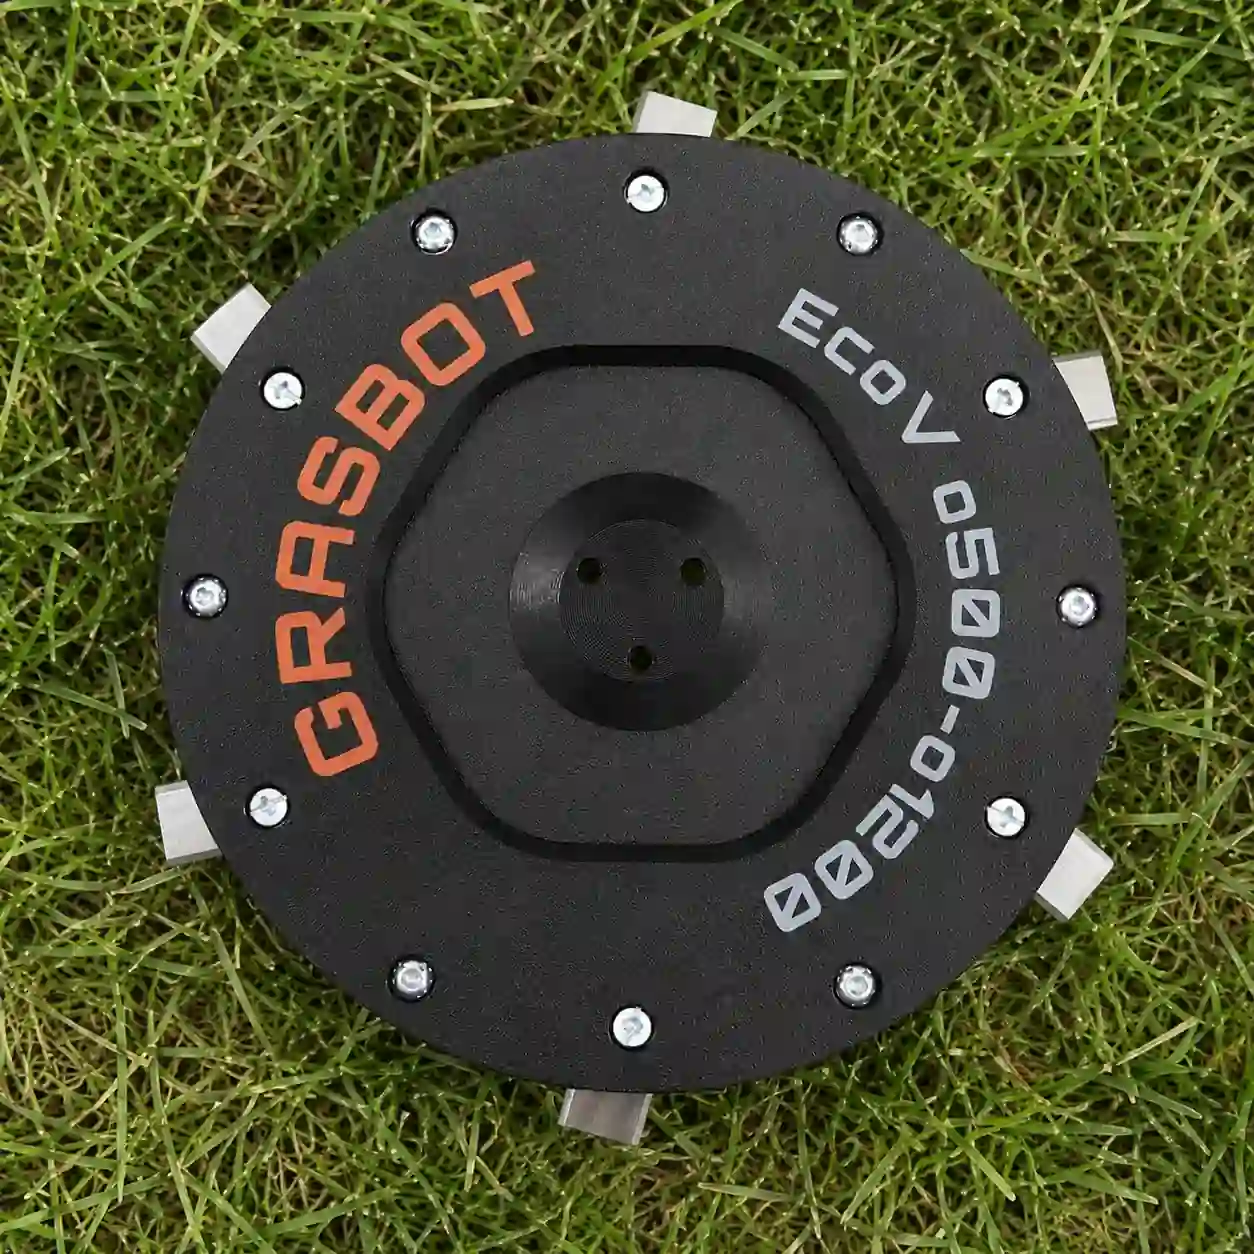
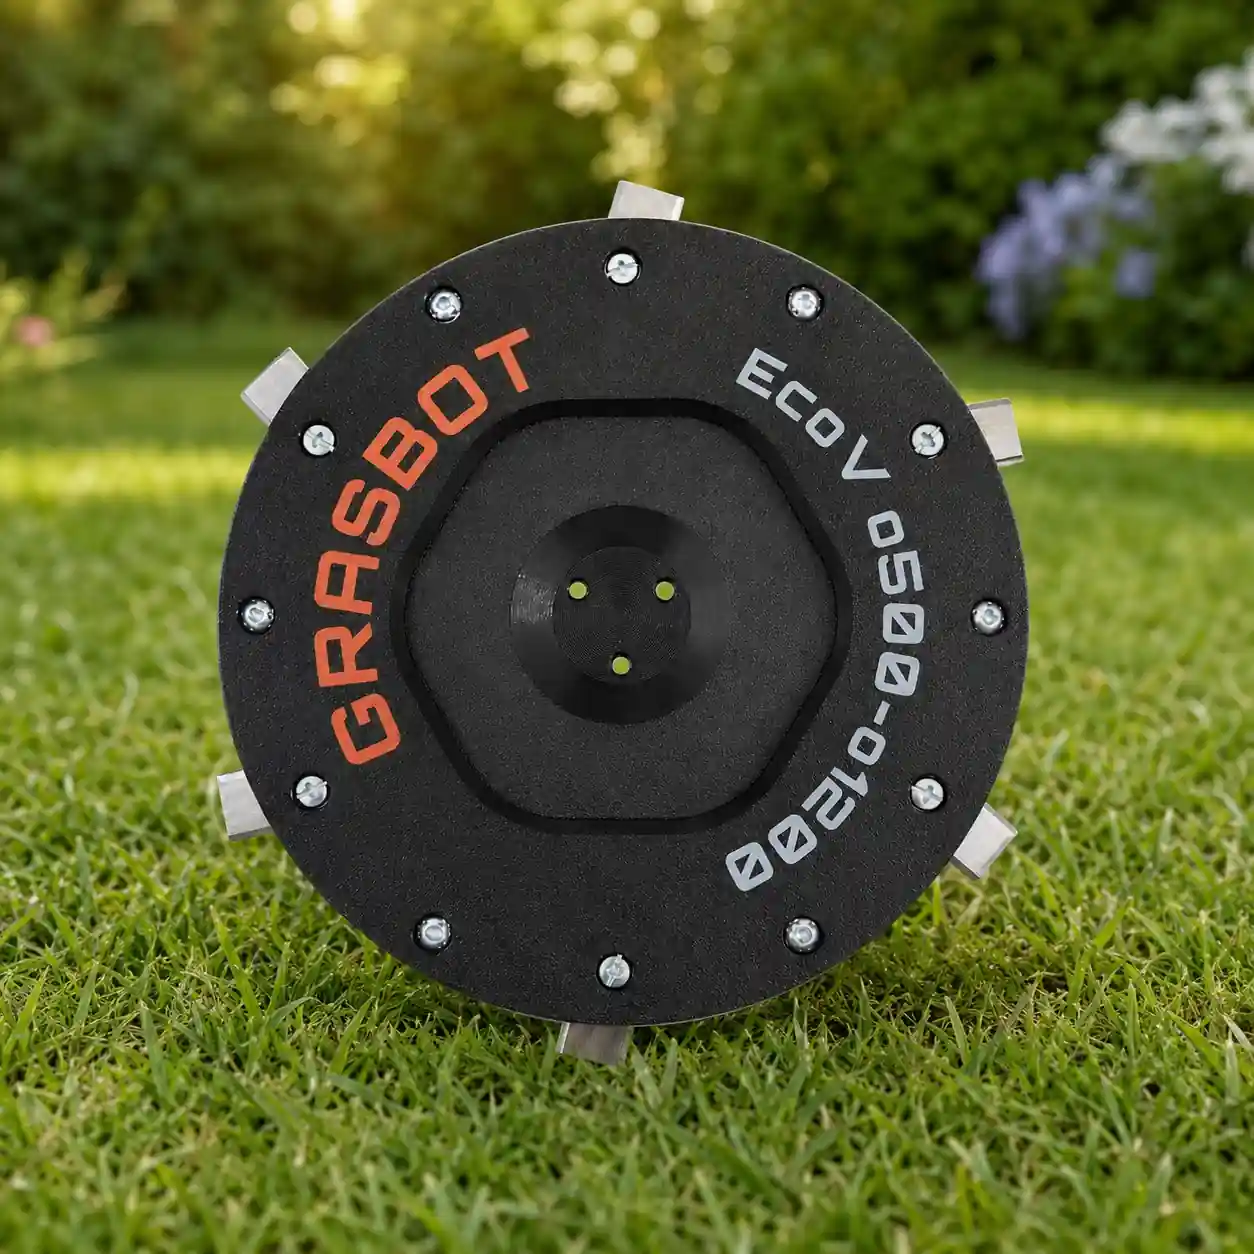
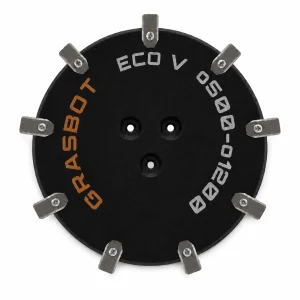
The GRASBOT cutting disc for Ecovacs GOAT robotic lawnmowers ensures a clean, even lawn cut with 6 sharp blades.

  • Compatible with Ecovacs GOAT O500, O800, O1200, G1-800 and G1-2000
  • 6 blades for precise and even cutting results
  • Rust-free stainless steel blades and robust composite plastic
  • Direct from the manufacturer – shipping within 24 hours
Cutting disc - incl. 6 blades
Cutting disc
incl. 6 blades
39,90 
Cutting disc - incl. 7 blades
Cutting disc
incl. 7 blades
43,90 
Cutting disc - incl. 9 blades
Cutting disc
incl. 9 blades
45,90 
save 7,18 €
Cutting disc + 60 blades set + Cutting disc + 60 blades set
Cutting disc + 60 blades set
72,62 
save 7,54 €
Cutting disc 7 blades + 60 blades set + Cutting disc 7 blades + 60 blades set
Cutting disc 7 blades + 60 blades set
76,26 
save 7,72 €
Cutting disc 9 blades + 60 blades set + Cutting disc 9 blades + 60 blades set
Cutting disc 9 blades + 60 blades set
78,08 
In stock – ships within 24hFits the listed models exactly30-day right of return under EU lawDirect from the manufacturer – fair prices
SKU: GB-ECOVACS-6

Description

Replacement mowing disc for the GOAT O and G1 series

With Ecovacs, model names regularly lead to incorrect orders. GOAT O500 and GOAT A1600 sound like they belong to the same family, but they don’t: the O and G1 series share a mowing deck, while the newer A series has a completely different mounting. This mowing disc fits the older family—with 6, 7, or 9 blades, delivered pre-assembled.
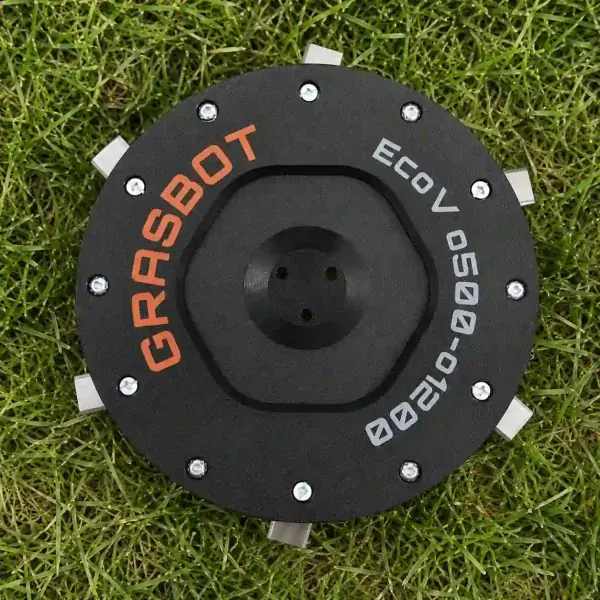
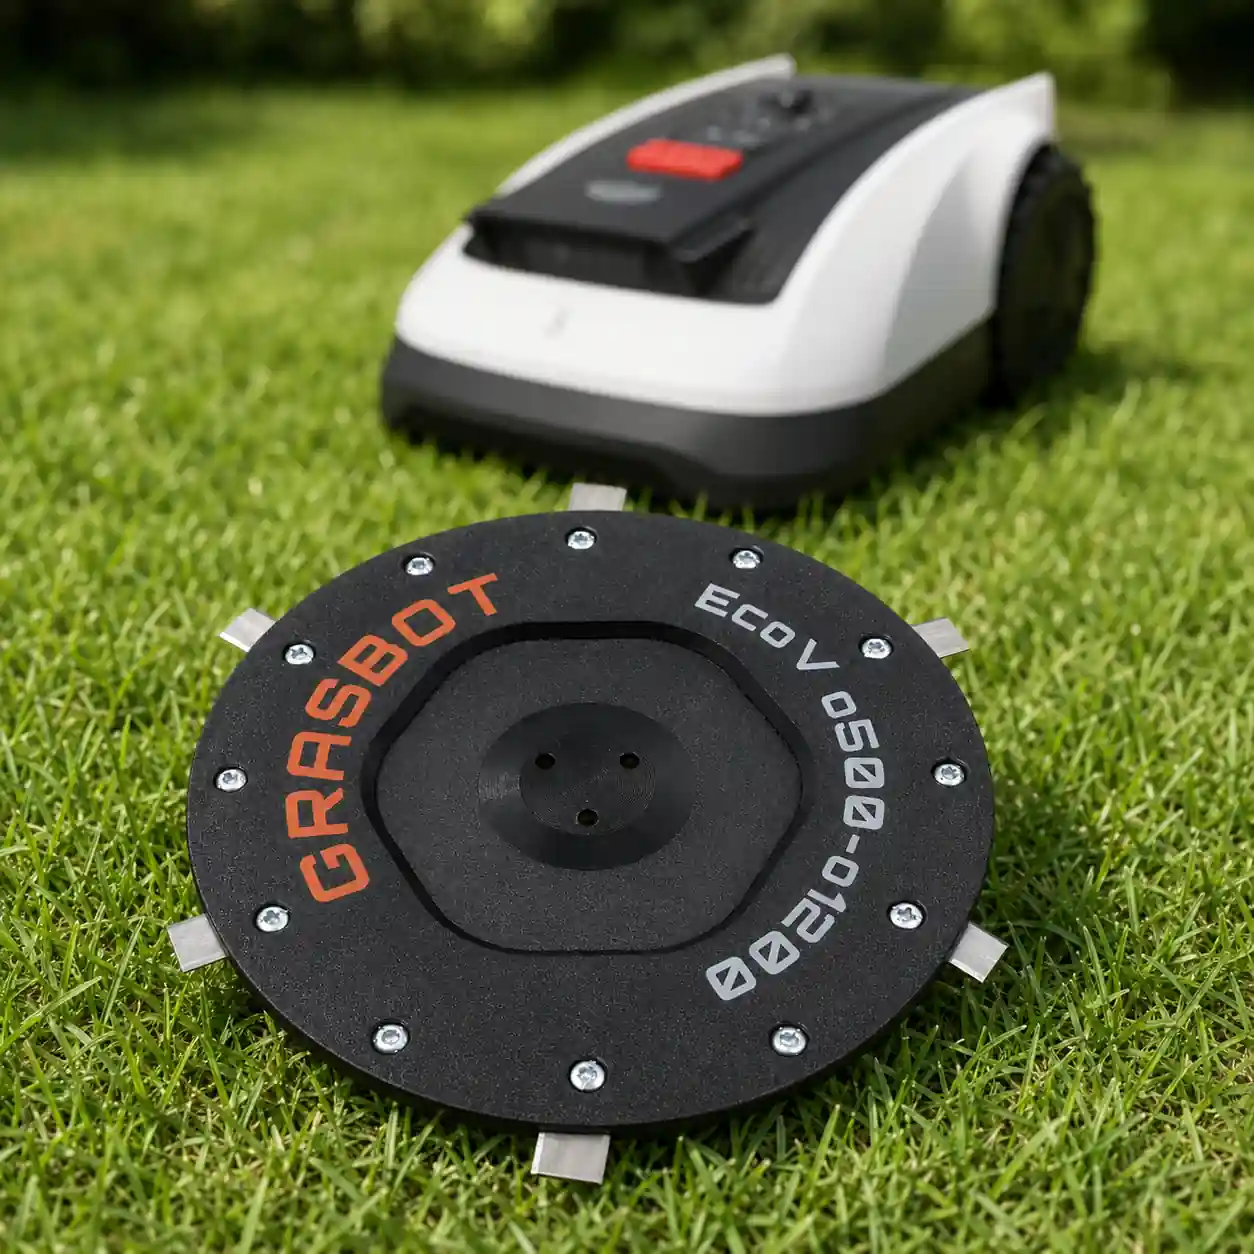
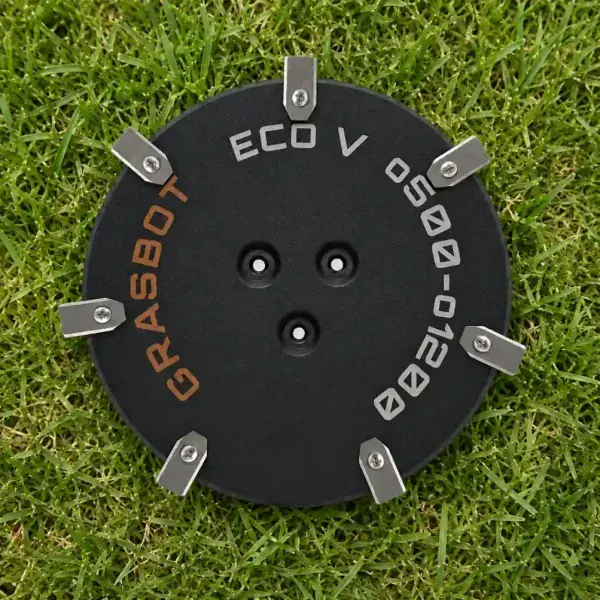
Mowing disc with 6 blades for Ecovacs GOAT O500, O800, O1200 in the lawn
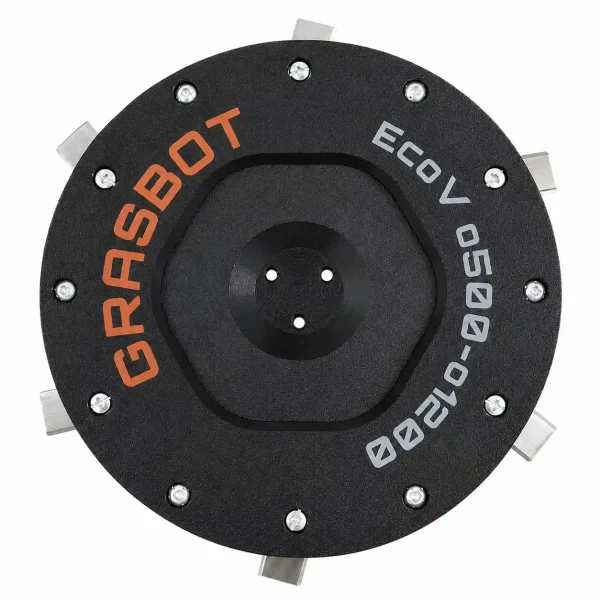
6-Blade variant: the factory standard

A spare part for five GOAT models

Ecovacs uses the same disc mount in the O series (O500, O800, O1200) and in the G1 series (G1-800, G1-2000). This disc is made exactly for that: it fits without an adapter, without drilling, and without modification—remove, attach, and tighten.

This makes storing spare parts easier. If you have two different GOAT models in use—e.g., an O500 in the front garden and a G1-2000 behind the house—you only need one type of mowing disc as a spare. The blades are also identical and interchangeable with each other.

The only difference between the variants is the number of blades: 6 for the factory standard, 7 for a finer cutting pattern, 9 for grass kept short. All three are supplied with pre-assembled blades.

Compatible GOAT models

GOAT O500
GOAT O800
GOAT O1200
G1-800
G1-2000
Does not fit: GOAT A1600 RTK, A2500 RTK and A3000 RTK. The A series has a different cutting deck—therefore we offer a separate disc for the A series. The letter before the number determines it.

O or A – how to identify your series

The fastest way is via the type label on the underside. It contains the full designation, and the letter directly before the number determines it: O or G1 indicate the older family, A the newer RTK series.

The second feature is navigation. O and G1 devices use cameras and a system without a boundary wire, which Ecovacs called TrueMapping at the time. The A series uses an RTK antenna that is placed separately in the garden.

If you have set up an antenna, you very likely have an A model and need the other disc. When in doubt, check the packaging or the invoice—the complete model designation is always listed there.
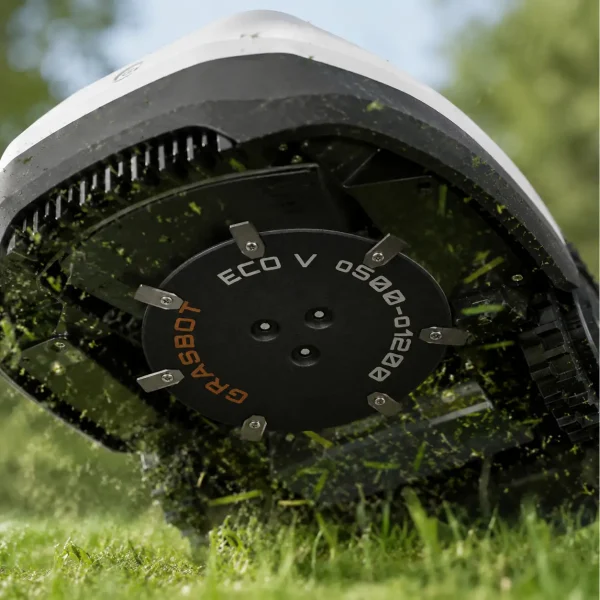
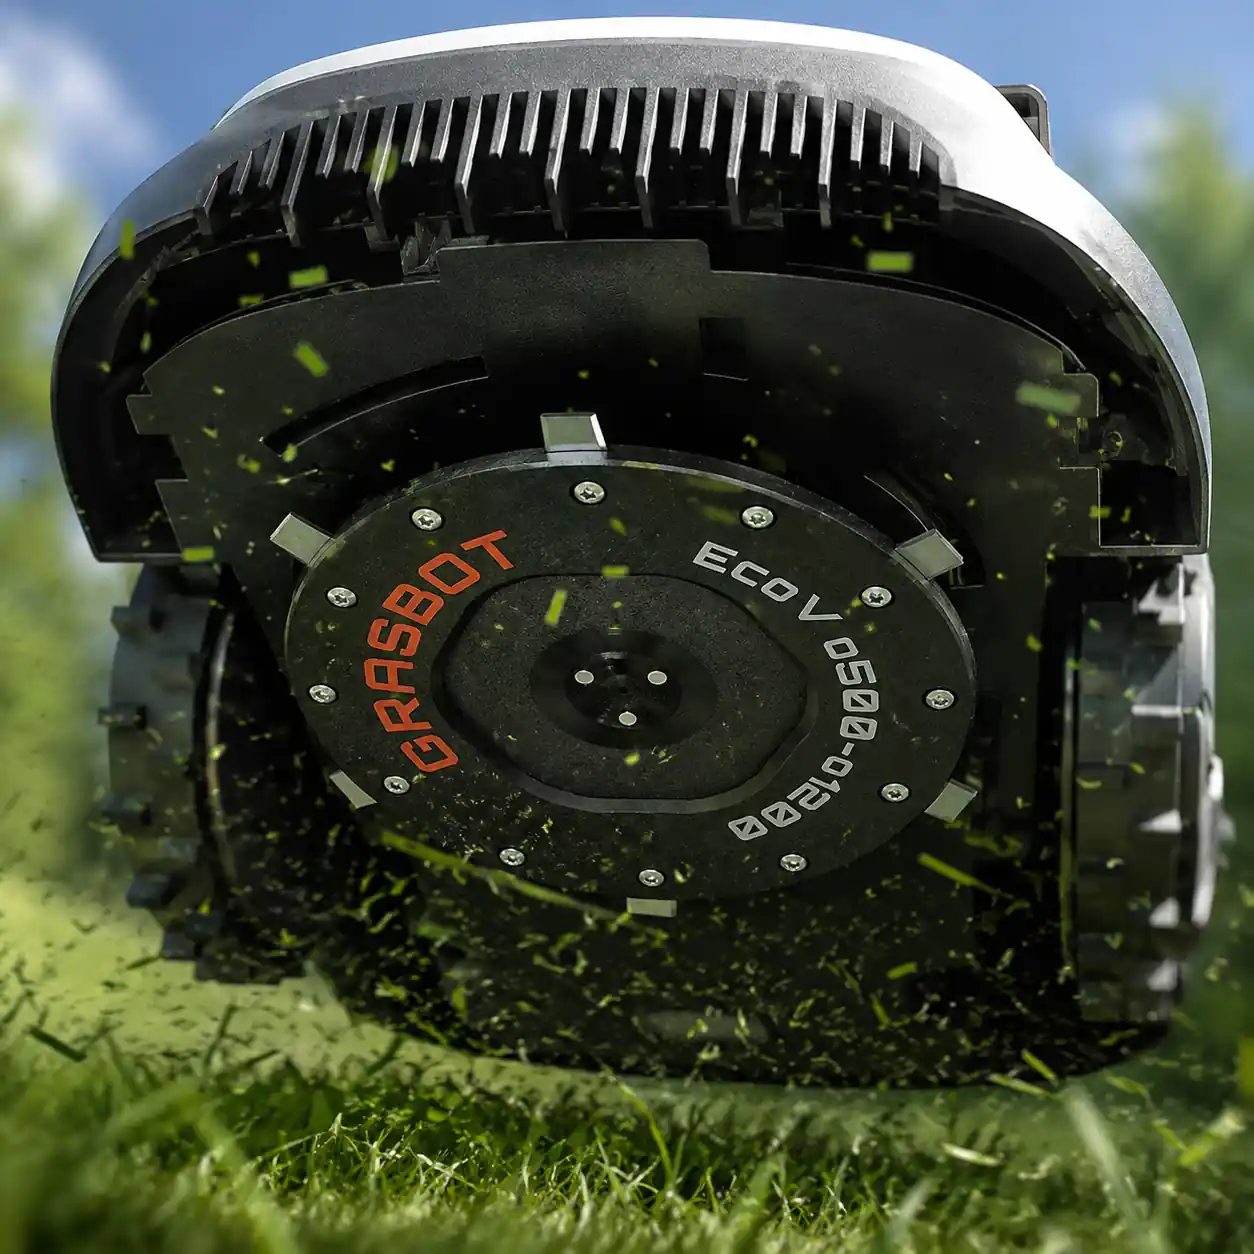
Underside of an Ecovacs GOAT with mounted mowing disc
Type plate and disc are located on the underside

Technical data

Blade count 6, 7 or 9 blades (selectable)
Blade material Stainless steel
Mowing disc material Impact-resistant plastic composite
Compatible with GOAT O500, O800, O1200, G1-800, G1-2000
Not compatible with GOAT A series (A1600, A2500, A3000 RTK)
Package contents 1 mowing disc with factory-mounted cutting disc blades
Installation time Approx. 5 minutes, no tool kit required
Shipping Ships directly from the manufacturer, dispatch within 24 h

6, 7 or 9 blades – what actually changes

More blades don’t mean more cutting power, but more cuts per revolution. The motor works the same; the grass is just hit more often. All three versions fit the same five GOAT models.

6 blades – factory standard with hub cover

The configuration with which Ecovacs delivers the GOAT. If you simply want to replace the worn original cutting disc, this is the right choice: same running behavior, same battery life, no adjustment needed.

This version additionally has a cover over the hub – the 7- and 9-blade discs don’t. It closes off the area where, with the GOAT, clippings tend to collect: The robot uses a mowing deck that sits relatively low, and whatever once gets caught around the blade mount slows the blade down. With the cover, this spot stays clear.

For normally maintained lawn with mowing intervals of two to three days, this is the most unobtrusive option.
Choose 6-blade variant

Base price – €39.90
Mowing disc with 6 blades for Ecovacs GOAT – factory standard
6 blades – like from the factory
Mowing disc with 7 blades for Ecovacs GOAT in the lawn
7 blades – finer cutting pattern

7 blades – finer cutting pattern

One blade more than from the factory, with practically unchanged wear. The grass is hit more often along the same path, and the cutting edges end up shorter.

The usual compromise for well-kept ornamental lawns: visibly cleaner than the 6-blade version, without the blades dulling noticeably faster.

One difference remains: we only provide the hub cover on the 6-blade disc. With the GOAT and its deep-mounted mowing deck, that’s the point where damp grass is most likely to get stuck.

Choose 7-blade variant

43.90 € – 4.00 € more than the 6-blade disc

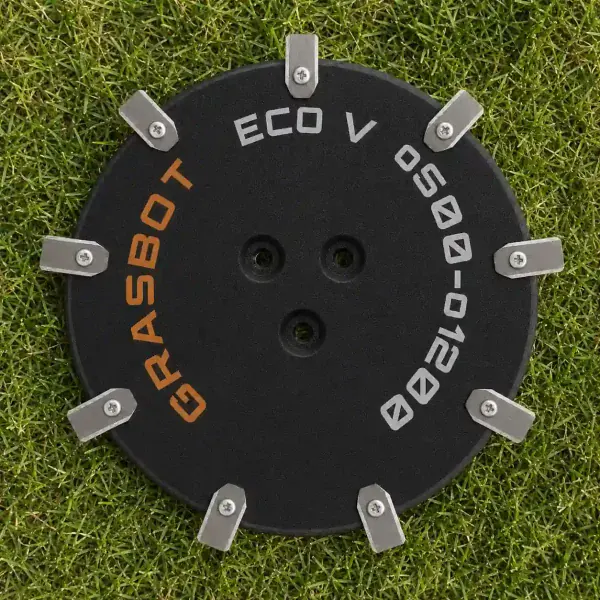
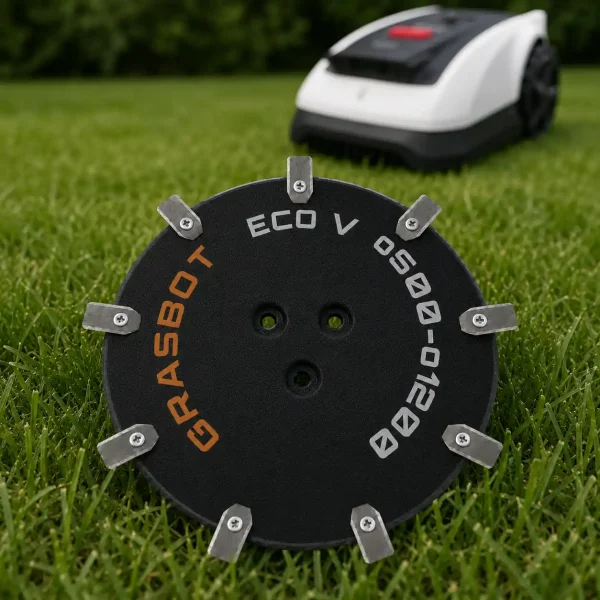
9 blades – for neatly kept lawn

The densest setup is worth it when the lawn is kept short and the robot drives frequently—often daily. The cutting pattern becomes more even, and individual blades that are left standing disappear.

The price for that: the individual blades dull a bit faster because the work is spread across more cuts. If you use this variant, it makes sense to get a set of blades as well.
Choose 9-blade variant

45.90 € – 6.00 € more than the 6-blade disc
Mowing disc with 9 blades for Ecovacs GOAT in the lawn
9 blades – densest cutting pattern
Ecovacs GOAT robotic lawnmower in use on the lawn
After the swap, ready for use again immediately

Swap in five minutes

  1. Switch off the GOAT and remove it from the charging station.
  2. Put on gloves and turn the device over.
  3. Remove lawn felt from the underside—this prevents imbalance later.
  4. Loosen the old disc, attach the new one, and tighten it firmly.
  5. Rotate it by hand and check that it runs freely.

A suitable screwdriver is enough. What matters is only that the disc sits cleanly and nothing is jammed—an abrasive disc puts strain on the mowing motor’s bearing over time.

Recognizing wear

Frayed blade ends with brown discoloration
Individual blades that remain standing despite overlapping mowing paths
Uneven running—usually a blade is missing or bent
Visible notches on the cutting edges

Buy blades individually

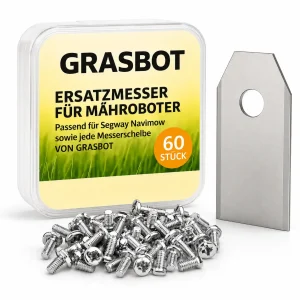
The blades are a wear part, the disc is not. For the next replacement, a new set of blades is usually enough—the 60er replacement blades set incl. screws fits all GOAT discs from the O and G1 series and lasts for several seasons.

Frequently asked questions

Does the disc fit the GOAT O500, O800 and O1200?

Yes, it also fits the G1-800 and G1-2000. These models share the same mowing disc mount.

Does the O-series mowing disc also fit the GOAT A1600 RTK?

No. The A-series has a different cutting deck. For the A1600, A2500 and A3000 RTK, you need the corresponding A disc.

How can I tell whether I have an O or A model?

On the nameplate on the underside. The letter before the number decides. Second feature: A models work with an RTK antenna that is placed separately in the garden—O and G1 devices do not.

What is the difference between 6, 7 and 9 blades?

The motor power does not change. More blades mean more cuts per revolution and a finer cutting pattern.

How often do I need to replace the blades on the GOAT?

There is no fixed interval. Frayed blade tips that start turning brown after one to two days are the most reliable sign.

Are blades and screws included?

The blades are already mounted. For attaching them to the robot, use the existing screw from your old mowing disc.

Do I need tools?

No. Switch off, flip it over, clean, replace—about ten minutes without any special tools.

0.0 out of 5
0 Reviews
5 stars 0%
4 stars 0%
3 stars 0%
2 stars 0%
1 stars 0%

Write a review

GRASBOT Assembly Instructions

General assembly instructions for cutting discs, replacement blades, and blades for compatible robotic lawnmowers.

Note

These instructions apply generally to compatible cutting discs, replacement blades, and blades from GRASBOT.
They do not refer to a specific model or specific version. Always additionally follow
the operating instructions of your robotic lawnmower.

Important safety notice

Sharp blades. Risk of injury. The blades and blades can cause severe cuts.
Always wear suitable protective gloves during assembly, disassembly, cleaning, and maintenance.
Never work on the cutting disc while it is still moving.

1. General safety instructions

  • The operator is responsible for accidents, injuries, and damage that occur to other people or their property.
  • Keep children, animals, and bystanders away from the robotic lawnmower during work and during operation.
  • Never touch the cutting disc or the blades while they are still moving.
  • Always switch the robotic lawnmower completely off before working on the cutting disc or on the blades.
  • If possible, remove the battery or disconnect the device from the power supply.
  • Always wear suitable protective gloves.
  • Do not use damaged, bent, heavily worn, or corroded blades, screws, or cutting discs.
  • Regularly check the condition of the blades, the mounting screws, and the cutting disc.

2. Tools and materials required

  • Suitable screwdriver or bit, matching the screws used.
  • Protective gloves.
  • New or inspected fastening screws.
  • GRASBOT cutting disc, replacement blades, or blade(s).
  • Optional: soft surface for safely placing the mowing robot.

Important

Use only suitable screws and appropriate mounting material.
If provided for by the manufacturer or included in the delivery, use screws with thread-locking compound
or suitable screw locking.

3. Preparation

  1. Fully stop the mowing robot.
  2. Switch off the device according to the operating instructions.
  3. Remove the battery if possible.
  4. Wait until the cutting disc has come to a complete stop.
  5. Carefully turn the mowing robot over and place it on a stable, soft surface.
  6. Check the work area for cleanliness and adequate lighting.

4. Dismantling the existing cutting disc

  1. Loosen the mounting screws of the existing cutting disc.
  2. Remove the screws completely and set them safely aside.
  3. Carefully remove the existing cutting disc from the blade mount.
  4. Clean the blade mount of grass clippings, dirt, and deposits.
  5. Check the blade mount for damage or unusual wear.

Warning

Do not use the new cutting disc if the blade mount, mounting points,
threads, or screws are damaged. In this case, the lawn mower may only be used again after
proper inspection.

5. Installing the GRASBOT cutting disc

  1. Fit the GRASBOT cutting disc onto the blade mount.
  2. Make sure the cutting disc sits flat and is correctly centered.
  3. Insert the appropriate fastening screws.
  4. Tighten the screws evenly and firmly.
  5. Do not overtighten the screws to avoid damage to threads or components.
  6. After installation, check that the cutting disc is securely fastened.
  7. Carefully rotate the cutting disc by hand and check that it runs freely.

6. Installation or replacement of the replacement blades

  1. Loosen the screws of the old blades.
  2. Carefully remove the old blades.
  3. Clean the contact surfaces on the cutting disc.
  4. Install the new GRASBOT replacement blades on the designated mounting points.
  5. Make sure the blades remain free to move, if this is intended by the design.
  6. Fasten each blade with a suitable screw.
  7. Tighten the screws securely without over-tightening them.
  8. Check each blade for a secure fit and free movement.

7. Check after installation

  • Are all screws fully inserted and securely fastened?
  • Is the cutting disc straight and firmly seated?
  • Can the blades move freely, if intended?
  • Have no tools or foreign objects been left in the area of the cutting disc?
  • Does the cutting disc run freely and without grinding?

8. Operation and Maintenance

  • Check the blades, screws, and cutting disc regularly for wear.
  • Replace damaged or heavily worn parts immediately.
  • Clean the cutting disc regularly of grass clippings and dirt.
  • Do not use the lawn mower robot if unusual noises, vibrations, or running problems occur.
  • Use only compatible replacement parts and suitable mounting materials.

Note on Blade Replacement

Always replace blades in good time. Dull or damaged blades can worsen the cutting pattern,
place a greater load on the lawn mower robot, and impair safety.

9. Disclaimer

GRASBOT cutting discs, replacement blades, and blades are accessories and replacement parts for compatible lawn mower robots.
They are not original accessories from the respective device manufacturer unless this is explicitly
stated in the product description.

Assembly and use are carried out at your own responsibility. No liability is assumed for damage caused by improper assembly,
incorrect use, damaged components, or failure to follow the operating instructions of the lawn mower robot.

Warning in case of injury

If you are injured or have an accident, seek medical help immediately.

GPSR Information on Product Safety

Product safety information in accordance with Regulation (EU) 2023/988 on general product safety.

Manufacturer & Responsible Person (EU)

CUT GUARD

Polana Brzozowa 7C

59-900 Zgorzelec

Poland

E-mail:
info@grasbot.com

Website:
www.grasbot.com

Product Identification

Brand: GRASBOT

Product type: cutting discs, replacement blades and blades for compatible lawnmowers

Intended use: Accessories and spare parts for suitable robotic lawnmowers

Product type: Cutting and mounting components for use in robotic lawnmowers

Item number / model / variant: see the respective product description, packaging, or invoice

Compatibility: see the product description and the robotic lawnmower’s operating instructions

Important warning notice

Sharp blades. Risk of injury. The blades and Klingen can cause severe cutting injuries.
Assembly, disassembly, cleaning, and maintenance may only be carried out when the robotic lawnmower is completely switched off.
Always wear suitable protective gloves and wait until the cutting disc has come to a complete stop.

Proper use

GRASBOT cutting discs, replacement blades, and Klingen are intended exclusively as accessories and spare parts for compatible robotic lawnmowers.

The products may only be used for the intended purpose and only in conjunction with suitable, compatible devices.
Any other use, structural modification, or improper installation can lead to injuries, malfunctions, or property damage.

Not suitable for

  • Children.
  • People who have not read or understood the operating instructions for the lawn mower robot.
  • Incompatible lawn mower robots.
  • Devices with damaged blade mounting, damaged threads, or defective mounting points.
  • Use outside the intended application area.
  • Use as a tool, hand knife, or for other cutting work outside the lawn mower robot.

Safety and warning instructions

  • Use only for the intended purpose.
  • Use only with compatible mowing robots, suitable cutting discs, and appropriate mounting hardware.
  • Before any assembly, disassembly, cleaning, or maintenance, switch off the mowing robot completely.
  • If possible, remove the battery or disconnect the device from the power supply.
  • Always wait until the cutting disc has come to a complete stop.
  • Always wear suitable protective gloves.
  • Keep hands and feet away from rotating blades.
  • Never touch blades or the cutting disc during operation.
  • Do not use any damaged, bent, heavily worn, rusted, or corroded blades, screws, or cutting discs.
  • Regularly check blades, screws, and the cutting disc for secure fit, wear, and damage.
  • Use only suitable screws and appropriate mounting hardware.
  • If provided, use screws with thread-locking compound or suitable screw locking.
  • Keep children, pets, and bystanders out of the work area.
  • The mowing robot must not be operated when people, especially children, or animals are in the work area.
  • In the event of unusual noises, vibrations, grinding noises, or running problems, stop operation immediately and check the assembly.
  • In case of injury or accidents, seek medical help immediately.

Assembly instructions

Assembly may only be carried out when the device is switched off. Always follow the operating instructions of the respective mowing robot.

The cutting disc, replacement blades and blades must be seated correctly and securely fastened. After assembly, check
whether the cutting disc runs freely and whether no tools or foreign objects have been left in the area of the blades.

Checks before operation

  • Are all screws fully inserted and tightened securely?
  • Is the cutting disc correctly centered and securely fastened?
  • Are the blades mounted correctly?
  • Can blades mounted with movable bearings move freely, provided this is intended by the design?
  • Are there no visible signs of damage?
  • Does the cutting disc run freely and without grinding?

Maintenance and inspection

  • Regularly check the cutting disc, blades, screws, and cutting disc for wear and damage.
  • Replace damaged or heavily worn parts immediately.
  • Clean the cutting disc regularly to remove grass clippings, dirt, and deposits.
  • Do not use aggressive cleaning agents that could damage the material or coating.
  • Use only compatible replacement parts and suitable mounting materials.

Storage and Disposal

Store replacement blades, blades, screws, and cutting discs dry, clean, and securely.
Store them out of the reach of children and unauthorized persons.

Safely pack used, damaged, or dull blades and blades to avoid cut injuries.
Dispose of metal parts, packaging, and accessories according to locally applicable regulations.

Note on Original Accessories

GRASBOT products are compatible accessories and spare parts. They are not original accessories of the respective device manufacturer unless this is expressly stated in the product description. Brand names, model designations, and manufacturer information are provided exclusively for compatibility purposes.

Contact for safety concerns, complaints, or accidents

If you have questions about product safety, complaints, accidents, or indications of possible safety issues, please contact us immediately:

CUT GUARD
Polana Brzozowa 7C
59-900 Zgorzelec
Poland
E-mail: info@grasbot.com
Website: www.grasbot.com

Fast EU shippingShips within 24h from stock
Precision-madeDeveloped for your robot model
30-day returnsStraightforward under EU law
Secure paymentPayPal, Karte & mehr