Free shipping · Ships within 24h

Mowing disc MOVA VIAX 250, 300 & 500 – cutting disc for robotic lawnmowers

40,90 

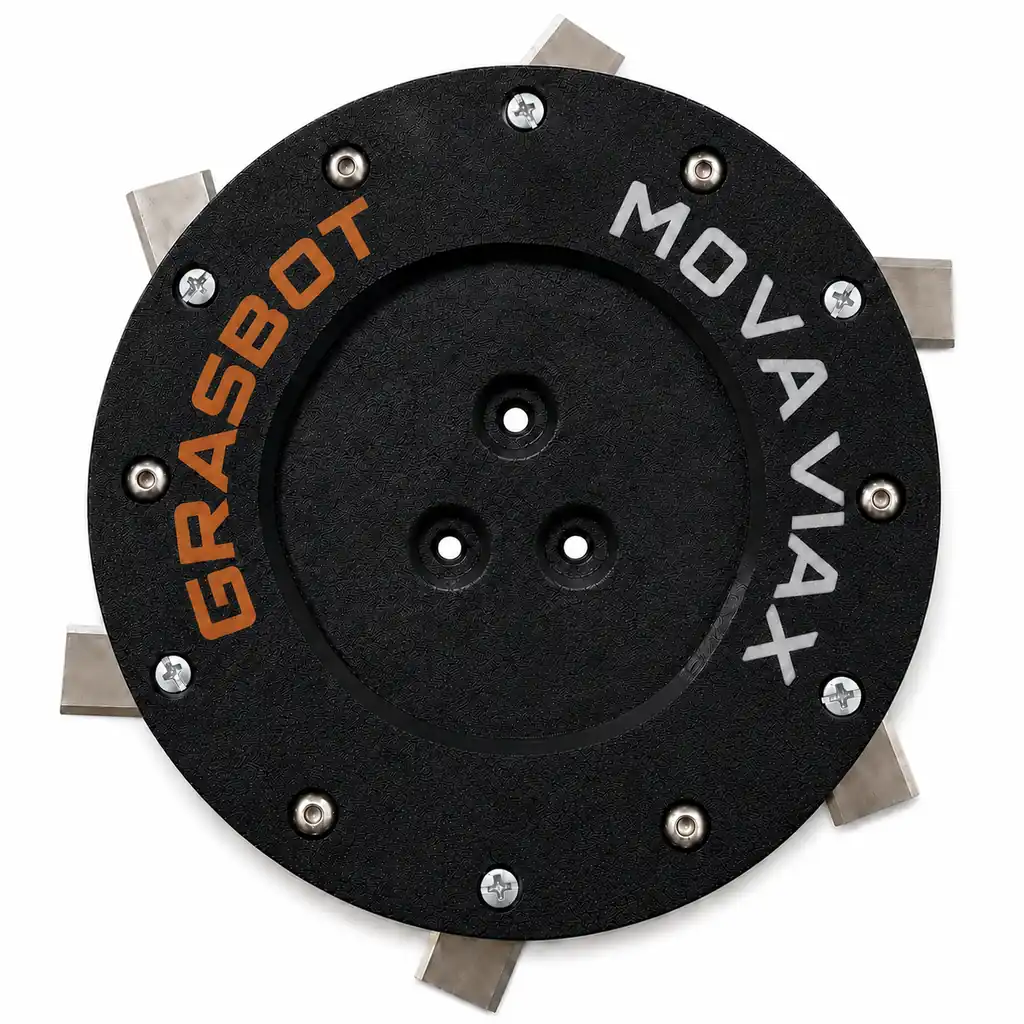
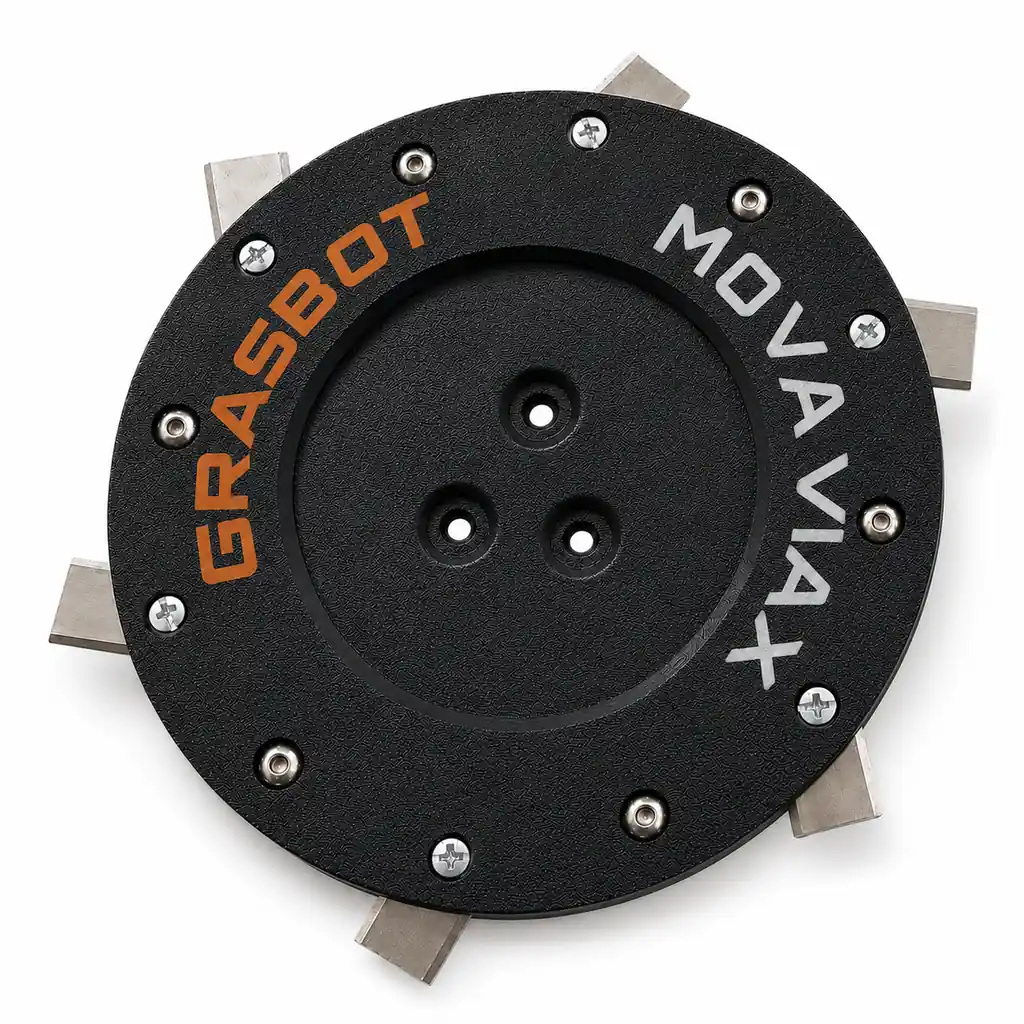
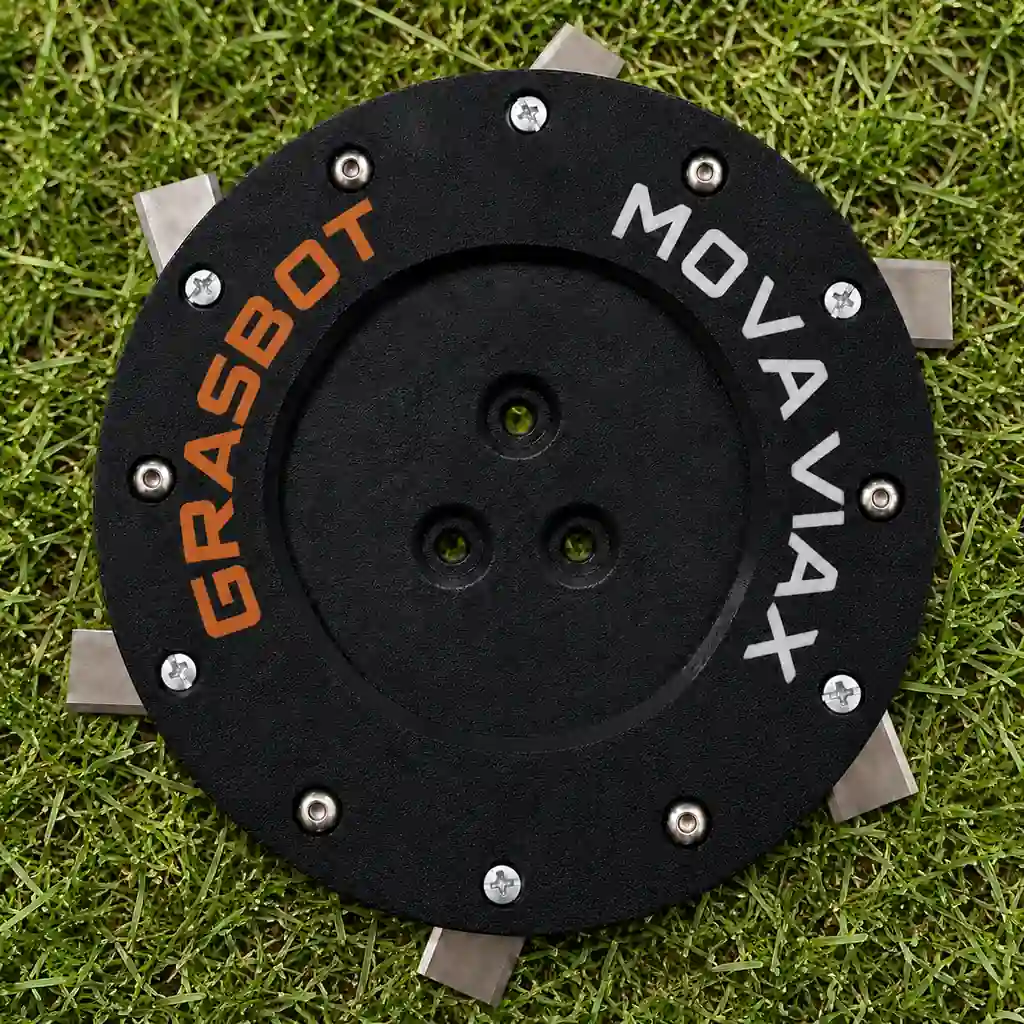
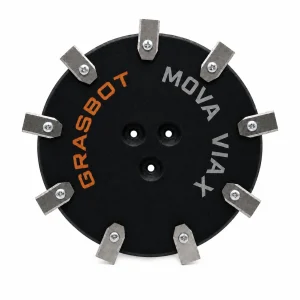
The GRASBOT cutting disc for the Mova Series VIAX provides a clean, even lawn cut with 6 sharp blades.

  • Compatible with Mova Series VIAX 250, 300 & 500
  • 6 blades for a precise cutting pattern
  • Rust-free stainless steel blades and robust composite plastic
  • Fast shipping within 24 hours
Cutting disc - incl. 6 blades
Cutting disc
incl. 6 blades
40,90 
Cutting disc - incl. 7 blades
Cutting disc
incl. 7 blades
42,90 
Cutting disc - incl. 9 blades
Cutting disc
incl. 9 blades
44,90 
save 7,27 €
Cutting disc + 60 blades set + Cutting disc + 60 blades set
Cutting disc + 60 blades set
73,53 
save 7,45 €
Cutting disc 7 blades + 60 blades set + Cutting disc 7 blades + 60 blades set
Cutting disc 7 blades + 60 blades set
75,35 
save 7,63 €
Cutting disc 9 blades + 60 blades set + Cutting disc 9 blades + 60 blades set
Cutting disc 9 blades + 60 blades set
77,17 
In stock – ships within 24hFits the listed models exactly30-day right of return under EU lawDirect from the manufacturer – fair prices
SKU: GB-VIAX-6

Description

Replacement mowing disc for VIAX 250, 300 and 500

The VIAX series is designed for compact properties—typically city gardens with flower beds, paths, and lawn edge corners. Such areas consist largely of edges, and that’s exactly where a robotic mower works the hardest. This disc fits VIAX 250, 300 and 500 and comes with pre-assembled stainless steel blades.
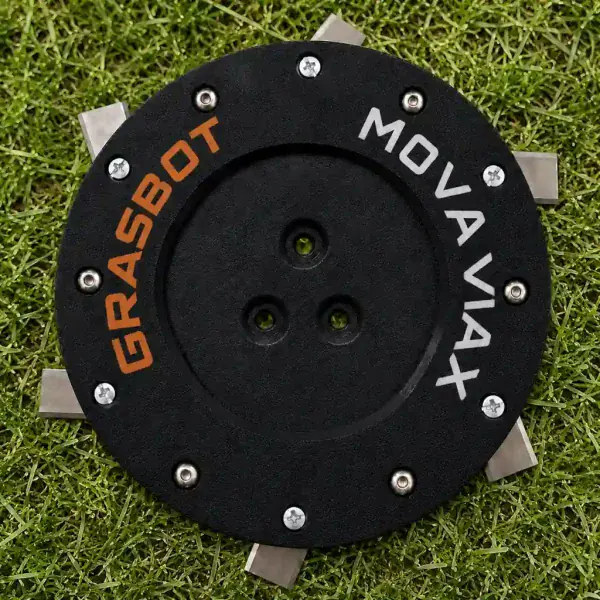
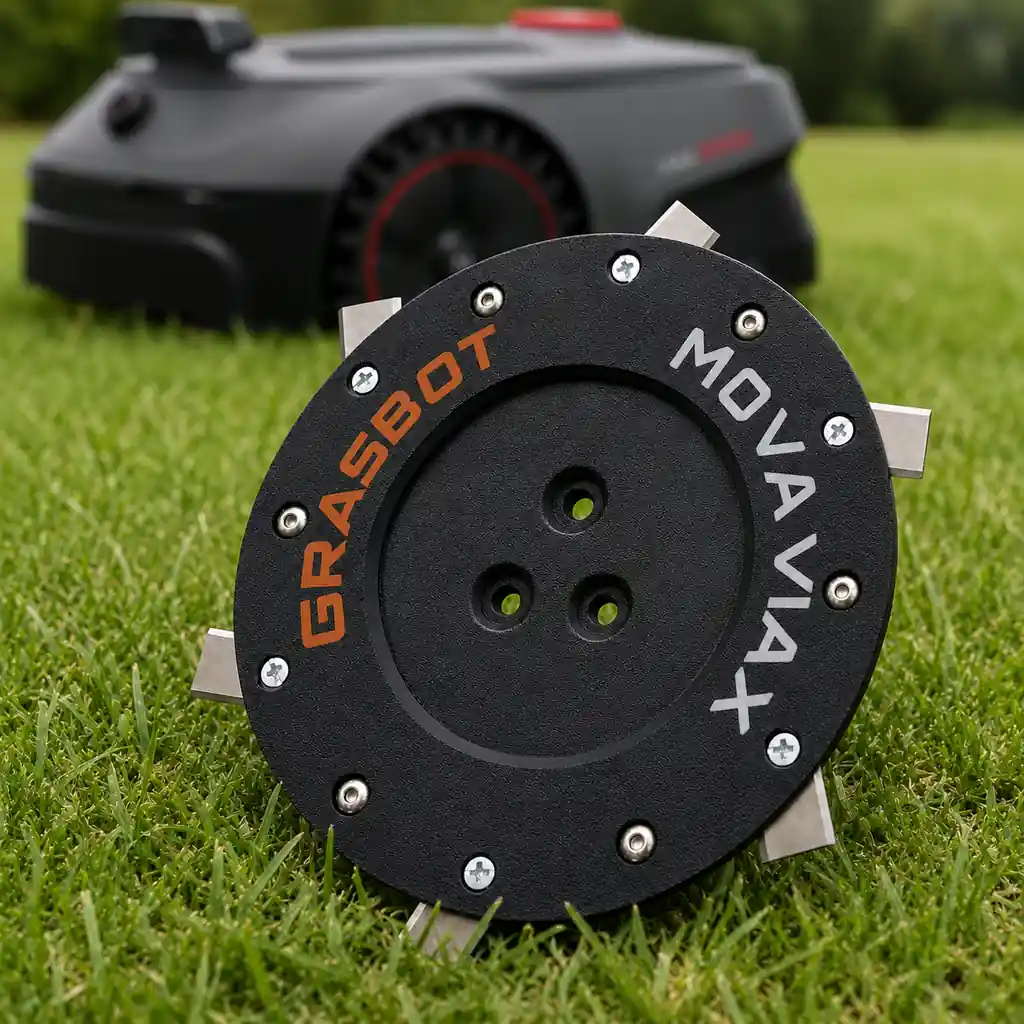
Mowing disc for MOVA VIAX in the lawn
Made for small gardens with lots of edges

A small area doesn’t mean less work

A garden with 250 square meters sounds like a quick job. In practice, it’s the opposite: the smaller the area, the higher the proportion of edges, corners, and narrow passages—and the more often the robot has to turn.

Every turning maneuver means the blades work briefly against standing grass instead of pulling through cleanly. Over a season, this adds up to a level of stress that you wouldn’t see in a 250-square-meter garden.

In addition, there are garden bed borders and paving slabs. Where the VIAX mows right up to the edge, at some point a blade meets stone—the most common reason for individual damaged blades.

Suitable VIAX models

MOVA VIAX 250
MOVA VIAX 300
MOVA VIAX 500
Not suitable for: the MOVA base models and the LiDAX Ultra series. Compatible discs: Mowing discs for MOVA 600 & 1000 · Mowing discs for LiDAX Ultra 800 – 1600.

All about the VIAX series

When searching for replacement parts, two things regularly lead you astray – the spelling and the model number:

VIAX or VIVAX – am I in the right place?

Both spellings are used around this product line, and both refer to the same device. If you search for “Vivax blade plate” or “VIAX mowing disc”, you’ll end up at the same disc – the key factor is the model number 250, 300 or 500.

More important is the distinction from the other MOVA series: the base models and the LiDAX Ultra series each have their own mowing deck. If the type label shows only a number without any additional information or the name LiDAX, you need a different version.

If you’re unsure, send us the complete designation from the type label – we’ll identify the device before you place your order.

VIAX 250, 300 or 500 – one disc for all?

Yes. The number indicates the intended lawn area; the mowing unit is identical for all three. One spare part covers the entire range.

If you switch from the 250 to the 500 because the garden has been newly landscaped, you can keep your accessories.

However, there is a difference when it comes to wear: the 500 works over a larger area, so it runs longer and needs fresh blades earlier.

Why are some blades damaged on my unit, while others are not?

This is typical for small gardens with a lot of structure. When the robot, while mowing along the edge, hits a paving slab or a curb stone, it usually only catches the blade that happens to be in that position.

Because the blades are mounted so they can rotate freely, they fold away on impact—this prevents damage to the mowing unit. The affected blade will then, however, have a notch or be slightly bent.

Even so, the entire set is replaced. One new blade among five used ones weighs differently, and this imbalance transfers at mowing speed to the entire mowing unit.

Replacement on the VIAX

  1. Switch off the robot and remove it from the charging station.
  2. Put on gloves and turn the device over.
  3. Remove clippings from the mowing area—in small gardens with trees, leaves also collect here.
  4. Loosen the old disc, fit the new one, and tighten the screws evenly.
  5. Tap each blade— it must be able to rotate freely around its screw.

With the VIAX, it’s also worth taking a look at the lawn edges themselves: a curb stone that protrudes a few millimeters above the ground costs more blades over the season than any other cause.
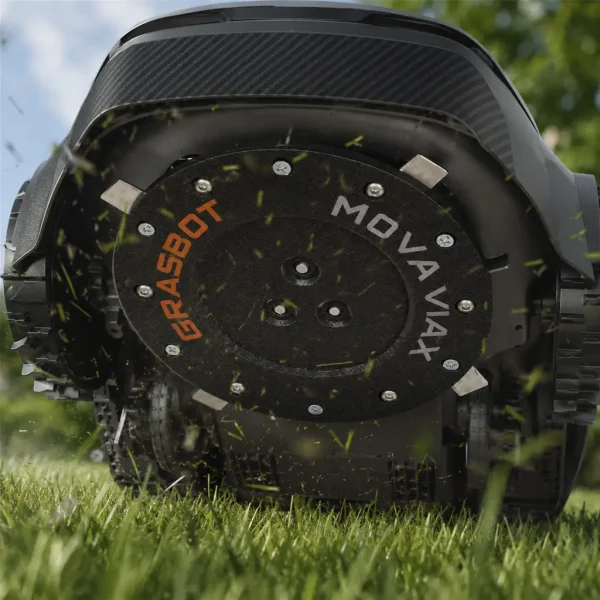
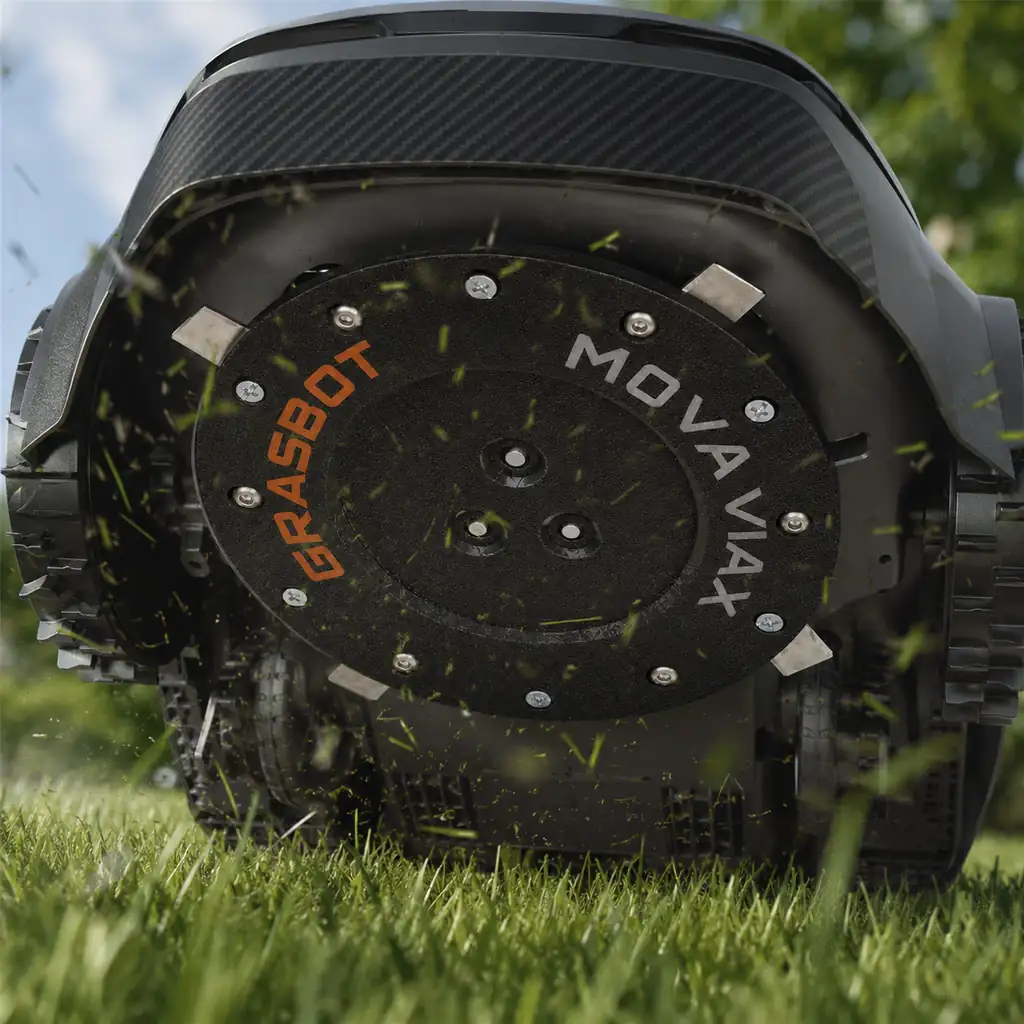
Underside of a MOVA VIAX with mowing disc
Check the model number on the type plate

Technical data

Blade count 6, 7 or 9 blades (selectable)
Blade material Stainless steel
Blade mounting Freely rotating on the screw – folds away when encountering obstacles
Mowing disc material Impact-resistant plastic composite
Compatible with MOVA VIAX 250, VIAX 300, VIAX 500
Not compatible with MOVA 600 / 1000, MOVA LiDAX Ultra
Package contents 1 mowing disc with factory-mounted blades
Installation Direct replacement of the original cutting disc
Shipping Ships directly from the manufacturer, dispatch within 24 h

6, 7 or 9 blades in a small garden

In compact gardens, the robot mows the same area more often than on large properties. That changes the equation: it’s not the service life of individual cutting edges that matters, but how clean the result looks at short intervals.

6 blades – robust and low-maintenance

The factory configuration and the direct replacement for the original cutting disc. Six strong blades handle edge contact better than many narrow ones—in gardens with lots of raised bed borders, this is a real advantage.

Only this version has a closed hub; with 7 and 9 blades it is missing. In a small garden, that pays off especially: the VIAX turns constantly, and with every maneuver, clippings end up under the chassis. Without hub protection, they move to the blade mounting area and get stuck there.

For anyone who lets the robot run every day and wants to turn it over as rarely as possible, this is the right choice.
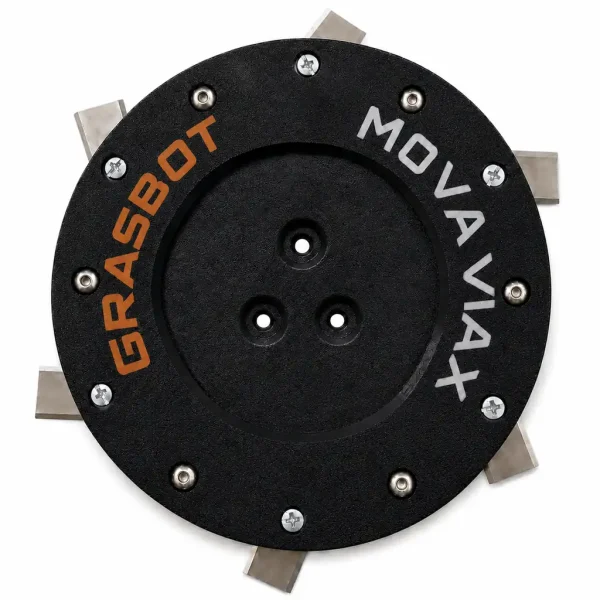
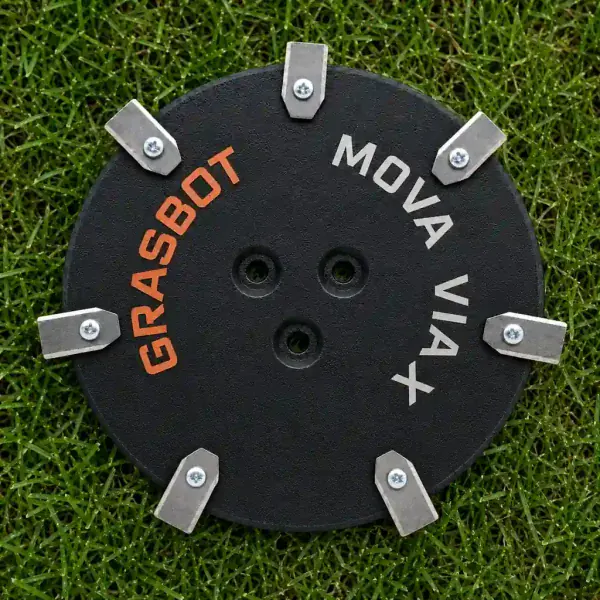
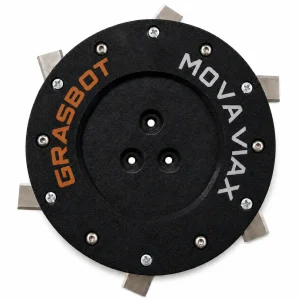
Mowing disc with 6 blades for MOVA VIAX
6 blades – with closed hub
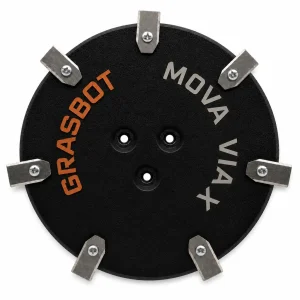
Mowing disc with 7 blades for MOVA VIAX
7 blades – finer cut

7 blades – for visibly well-groomed areas

Small gardens are usually right next to the seating area and are therefore looked at very closely. Seven cutting edges provide a more even look here, because each blade of grass is hit more often on the same run.

With short mowing intervals, the additional wear remains low – the blades only remove a few millimeters anyway.

Without hub protection: Unproblematic in gardens without trees and in dry weather conditions.

Choose 7-blade variant

Additional cost, see selection above

9 blades – for the ornamental lawn by the house

The densest variant is suitable for lawns that are kept short, over which the VIAX drives every day. The cutting pattern then becomes very fine and uniform.

Where there are many stone edges, six or seven stronger blades last longer—nine narrow blades make poorer contact with the edges.

Also without hub protection—during daily operation on short grass, this is hardly noticeable.
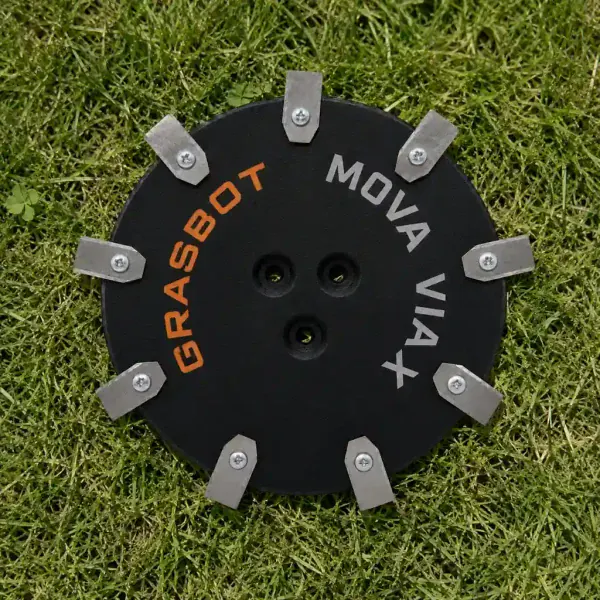
Choose 9-blade variant

Additional charge see selection above
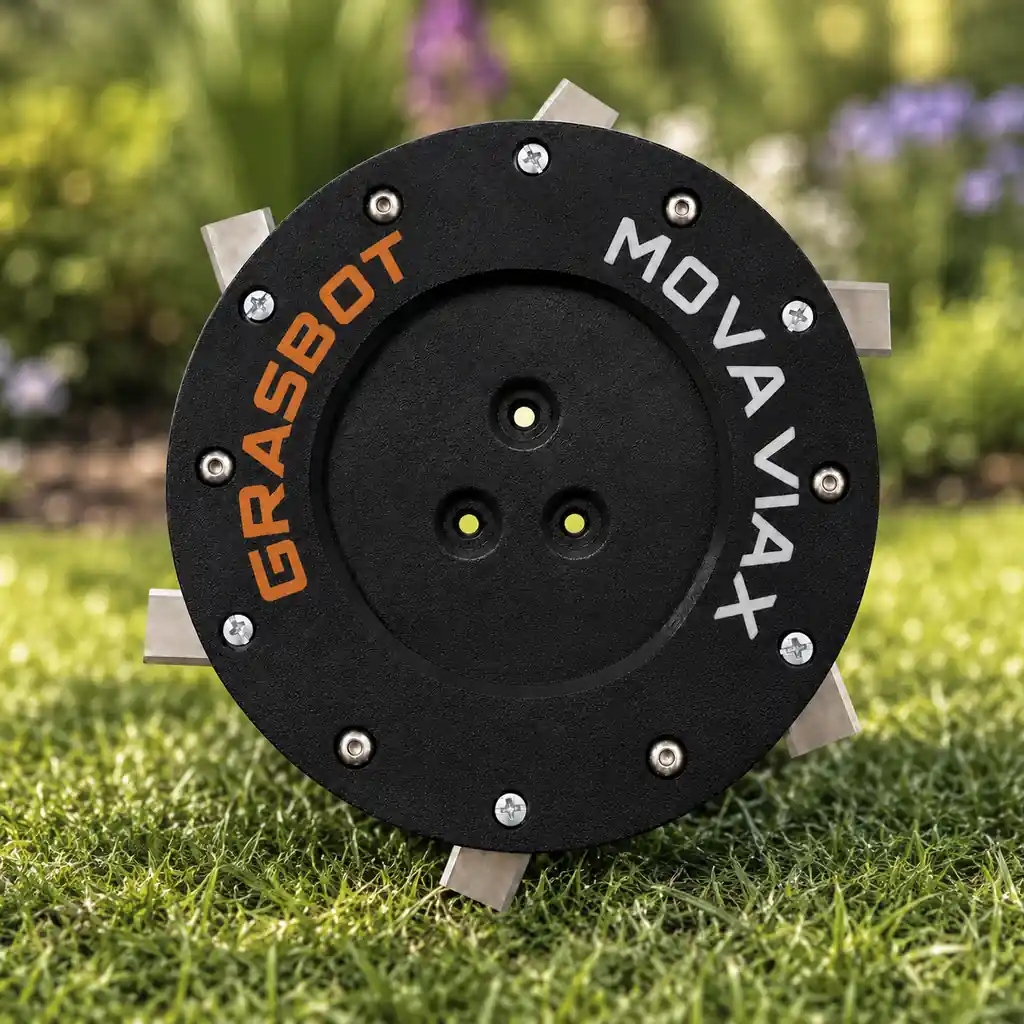
Mowing disc with 9 blades for MOVA VIAX in use
9 blades – densest blade arrangement

When it’s time to replace

Along the edges of flower beds, a narrow strip remains uncut
Individual blades show notches from contact with stones
The cut looks ragged, even though the lawn is short
The robot runs more unevenly after a collision than before

Buy blades individually

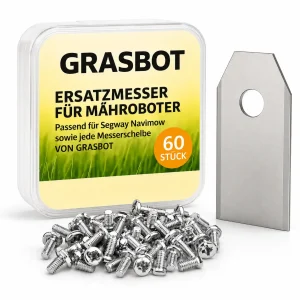
In gardens with lots of edges, it usually affects individual blades—however, the entire set is still replaced. If you have the 60-blade replacement set with screws at home, you can do it in five minutes as soon as an edge has taken a hit.

Frequently asked questions

Does the disc fit the VIAX 250, 300, and 500?

Yes, all three surface variants use the same disc mount.

Can I use the VIAX mowing disc on the MOVA 1000?

No. Each MOVA series has its own mowing deck—VIAX, MOVA 600/1000, and LiDAX are not compatible with each other.

Why do the blades get notches so quickly on the VIAX?

Compact gardens have a higher proportion of edges than large areas. With every turning maneuver, the disc shifts sideways through the grass and then hits garden borders or edge stones.

Can I do anything to make the blades last longer?

Yes. Install garden borders one to two centimeters below the grass-sward height so the robot can drive over them. And set turning points on the map as far as possible away from hard edges.

Which blade count is right for the VIAX?

With many obstacles, the 6-blade variant is practical because replacements are needed more often. For well-kept front gardens with daily mowing, 7 or 9 blades are worth it.

How often do I need to replace them?

No fixed interval. Check the blades for notches and the blade tips for fraying—both indicate the condition better than the calendar.

Are the blades pre-assembled?

Yes, the disc arrives ready to install.

0.0 out of 5
0 Reviews
5 stars 0%
4 stars 0%
3 stars 0%
2 stars 0%
1 stars 0%

Write a review

GRASBOT Assembly Instructions

General assembly instructions for cutting discs, replacement blades, and blades for compatible robotic lawnmowers.

Note

These instructions apply generally to compatible cutting discs, replacement blades, and blades from GRASBOT.
They do not refer to a specific model or specific version. Always additionally follow
the operating instructions of your robotic lawnmower.

Important safety notice

Sharp blades. Risk of injury. The blades and blades can cause severe cuts.
Always wear suitable protective gloves during assembly, disassembly, cleaning, and maintenance.
Never work on the cutting disc while it is still moving.

1. General safety instructions

  • The operator is responsible for accidents, injuries, and damage that occur to other people or their property.
  • Keep children, animals, and bystanders away from the robotic lawnmower during work and during operation.
  • Never touch the cutting disc or the blades while they are still moving.
  • Always switch the robotic lawnmower completely off before working on the cutting disc or on the blades.
  • If possible, remove the battery or disconnect the device from the power supply.
  • Always wear suitable protective gloves.
  • Do not use damaged, bent, heavily worn, or corroded blades, screws, or cutting discs.
  • Regularly check the condition of the blades, the mounting screws, and the cutting disc.

2. Tools and materials required

  • Suitable screwdriver or bit, matching the screws used.
  • Protective gloves.
  • New or inspected fastening screws.
  • GRASBOT cutting disc, replacement blades, or blade(s).
  • Optional: soft surface for safely placing the mowing robot.

Important

Use only suitable screws and appropriate mounting material.
If provided for by the manufacturer or included in the delivery, use screws with thread-locking compound
or suitable screw locking.

3. Preparation

  1. Fully stop the mowing robot.
  2. Switch off the device according to the operating instructions.
  3. Remove the battery if possible.
  4. Wait until the cutting disc has come to a complete stop.
  5. Carefully turn the mowing robot over and place it on a stable, soft surface.
  6. Check the work area for cleanliness and adequate lighting.

4. Dismantling the existing cutting disc

  1. Loosen the mounting screws of the existing cutting disc.
  2. Remove the screws completely and set them safely aside.
  3. Carefully remove the existing cutting disc from the blade mount.
  4. Clean the blade mount of grass clippings, dirt, and deposits.
  5. Check the blade mount for damage or unusual wear.

Warning

Do not use the new cutting disc if the blade mount, mounting points,
threads, or screws are damaged. In this case, the lawn mower may only be used again after
proper inspection.

5. Installing the GRASBOT cutting disc

  1. Fit the GRASBOT cutting disc onto the blade mount.
  2. Make sure the cutting disc sits flat and is correctly centered.
  3. Insert the appropriate fastening screws.
  4. Tighten the screws evenly and firmly.
  5. Do not overtighten the screws to avoid damage to threads or components.
  6. After installation, check that the cutting disc is securely fastened.
  7. Carefully rotate the cutting disc by hand and check that it runs freely.

6. Installation or replacement of the replacement blades

  1. Loosen the screws of the old blades.
  2. Carefully remove the old blades.
  3. Clean the contact surfaces on the cutting disc.
  4. Install the new GRASBOT replacement blades on the designated mounting points.
  5. Make sure the blades remain free to move, if this is intended by the design.
  6. Fasten each blade with a suitable screw.
  7. Tighten the screws securely without over-tightening them.
  8. Check each blade for a secure fit and free movement.

7. Check after installation

  • Are all screws fully inserted and securely fastened?
  • Is the cutting disc straight and firmly seated?
  • Can the blades move freely, if intended?
  • Have no tools or foreign objects been left in the area of the cutting disc?
  • Does the cutting disc run freely and without grinding?

8. Operation and Maintenance

  • Check the blades, screws, and cutting disc regularly for wear.
  • Replace damaged or heavily worn parts immediately.
  • Clean the cutting disc regularly of grass clippings and dirt.
  • Do not use the lawn mower robot if unusual noises, vibrations, or running problems occur.
  • Use only compatible replacement parts and suitable mounting materials.

Note on Blade Replacement

Always replace blades in good time. Dull or damaged blades can worsen the cutting pattern,
place a greater load on the lawn mower robot, and impair safety.

9. Disclaimer

GRASBOT cutting discs, replacement blades, and blades are accessories and replacement parts for compatible lawn mower robots.
They are not original accessories from the respective device manufacturer unless this is explicitly
stated in the product description.

Assembly and use are carried out at your own responsibility. No liability is assumed for damage caused by improper assembly,
incorrect use, damaged components, or failure to follow the operating instructions of the lawn mower robot.

Warning in case of injury

If you are injured or have an accident, seek medical help immediately.

GPSR Information on Product Safety

Product safety information in accordance with Regulation (EU) 2023/988 on general product safety.

Manufacturer & Responsible Person (EU)

CUT GUARD

Polana Brzozowa 7C

59-900 Zgorzelec

Poland

E-mail:
info@grasbot.com

Website:
www.grasbot.com

Product Identification

Brand: GRASBOT

Product type: cutting discs, replacement blades and blades for compatible lawnmowers

Intended use: Accessories and spare parts for suitable robotic lawnmowers

Product type: Cutting and mounting components for use in robotic lawnmowers

Item number / model / variant: see the respective product description, packaging, or invoice

Compatibility: see the product description and the robotic lawnmower’s operating instructions

Important warning notice

Sharp blades. Risk of injury. The blades and Klingen can cause severe cutting injuries.
Assembly, disassembly, cleaning, and maintenance may only be carried out when the robotic lawnmower is completely switched off.
Always wear suitable protective gloves and wait until the cutting disc has come to a complete stop.

Proper use

GRASBOT cutting discs, replacement blades, and Klingen are intended exclusively as accessories and spare parts for compatible robotic lawnmowers.

The products may only be used for the intended purpose and only in conjunction with suitable, compatible devices.
Any other use, structural modification, or improper installation can lead to injuries, malfunctions, or property damage.

Not suitable for

  • Children.
  • People who have not read or understood the operating instructions for the lawn mower robot.
  • Incompatible lawn mower robots.
  • Devices with damaged blade mounting, damaged threads, or defective mounting points.
  • Use outside the intended application area.
  • Use as a tool, hand knife, or for other cutting work outside the lawn mower robot.

Safety and warning instructions

  • Use only for the intended purpose.
  • Use only with compatible mowing robots, suitable cutting discs, and appropriate mounting hardware.
  • Before any assembly, disassembly, cleaning, or maintenance, switch off the mowing robot completely.
  • If possible, remove the battery or disconnect the device from the power supply.
  • Always wait until the cutting disc has come to a complete stop.
  • Always wear suitable protective gloves.
  • Keep hands and feet away from rotating blades.
  • Never touch blades or the cutting disc during operation.
  • Do not use any damaged, bent, heavily worn, rusted, or corroded blades, screws, or cutting discs.
  • Regularly check blades, screws, and the cutting disc for secure fit, wear, and damage.
  • Use only suitable screws and appropriate mounting hardware.
  • If provided, use screws with thread-locking compound or suitable screw locking.
  • Keep children, pets, and bystanders out of the work area.
  • The mowing robot must not be operated when people, especially children, or animals are in the work area.
  • In the event of unusual noises, vibrations, grinding noises, or running problems, stop operation immediately and check the assembly.
  • In case of injury or accidents, seek medical help immediately.

Assembly instructions

Assembly may only be carried out when the device is switched off. Always follow the operating instructions of the respective mowing robot.

The cutting disc, replacement blades and blades must be seated correctly and securely fastened. After assembly, check
whether the cutting disc runs freely and whether no tools or foreign objects have been left in the area of the blades.

Checks before operation

  • Are all screws fully inserted and tightened securely?
  • Is the cutting disc correctly centered and securely fastened?
  • Are the blades mounted correctly?
  • Can blades mounted with movable bearings move freely, provided this is intended by the design?
  • Are there no visible signs of damage?
  • Does the cutting disc run freely and without grinding?

Maintenance and inspection

  • Regularly check the cutting disc, blades, screws, and cutting disc for wear and damage.
  • Replace damaged or heavily worn parts immediately.
  • Clean the cutting disc regularly to remove grass clippings, dirt, and deposits.
  • Do not use aggressive cleaning agents that could damage the material or coating.
  • Use only compatible replacement parts and suitable mounting materials.

Storage and Disposal

Store replacement blades, blades, screws, and cutting discs dry, clean, and securely.
Store them out of the reach of children and unauthorized persons.

Safely pack used, damaged, or dull blades and blades to avoid cut injuries.
Dispose of metal parts, packaging, and accessories according to locally applicable regulations.

Note on Original Accessories

GRASBOT products are compatible accessories and spare parts. They are not original accessories of the respective device manufacturer unless this is expressly stated in the product description. Brand names, model designations, and manufacturer information are provided exclusively for compatibility purposes.

Contact for safety concerns, complaints, or accidents

If you have questions about product safety, complaints, accidents, or indications of possible safety issues, please contact us immediately:

CUT GUARD
Polana Brzozowa 7C
59-900 Zgorzelec
Poland
E-mail: info@grasbot.com
Website: www.grasbot.com

Fast EU shippingShips within 24h from stock
Precision-madeDeveloped for your robot model
30-day returnsStraightforward under EU law
Secure paymentPayPal, Karte & mehr